XERO XtendTopic number: 1673018923117
Adding advanced imaging capability to XERO Viewer, XERO Xtend gives clinicians more access with speciality tools and additional functionality.
-
Powerful clinical tools and specific hanging protocols.
-
Advanced viewing tools similar to functionality found on the diagnostic desktop.
-
Specialized tools include MIP/MPR/3D reconstructions, orthopedic measurements, breast imaging layouts and ultrasound viewing tools, enabling specialists to review studies before, during and after interventions.
-
Easy, live collaboration, chat and sharing functions that enhance cooperation between peers, and support multi-disciplinary communication.
These features and enhancements supporting XERO Xtend are available in Enterprise Imaging 8.2.2:
Use the KIN panel to see all available key image notes
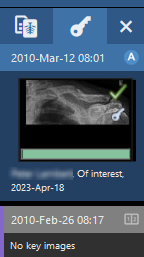
XERO Xtend users can now see a quick overview of the important images in a loaded study using the key image note (KIN) panel. Located in the clinical sidebar and styled after the Diagnostic desktop, the KIN panel is designed to improve accessibility and productivity.
Figure: Use the KIN panel to review key image notes
Find images faster and improve productivity with the Key images button
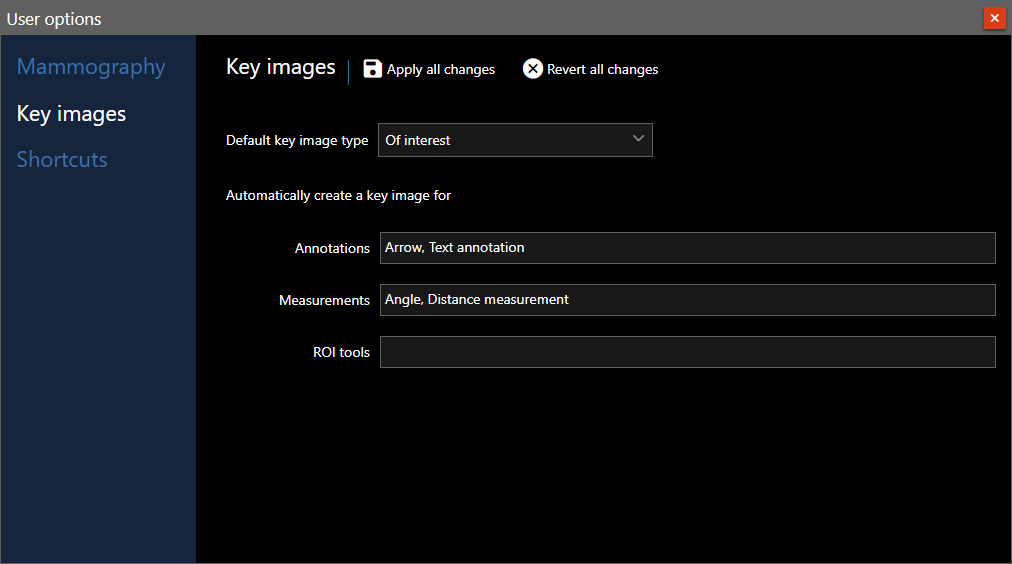
Using the Key images button, you can quickly view all the key images available to the study currently open in the Image area. You can configure the default key image type as well the tools to automatically create key images for.
Figure: Configure automatic key image creation using the user options
Customize the organization of Hanging protocols in XERO Xtend
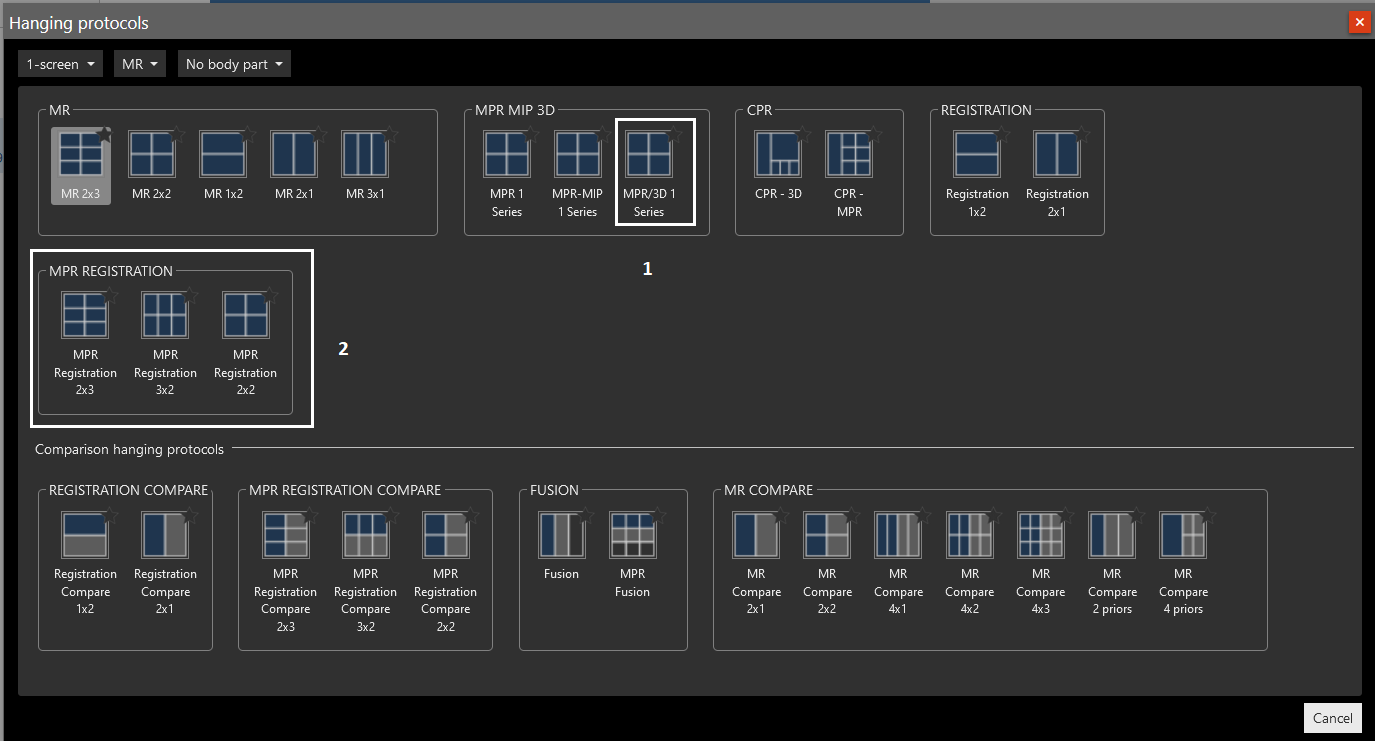
XERO Xtend users can now adjust handing protocols within the hanging protocol gallery to customize their workflow to suit their needs.
Using the context menu, hanging protocols and presentation groups can be copied, moved or deleted within the hanging protocol gallery. Additionally, QC presentation groups and key image note (KIN) hanging protocols can be adjusted but not deleted.
Figure: Use the Hanging protocol gallery to modify Hanging protocols and presentation groups
New image set navigation buttons are available in XERO Xtend
Using the new buttons, navigate to the next or previous set of images that matches the selected viewport of the current hanging protocol. The new navigation buttons are available in the top toolbar.
Figure: Use the previous/next buttons to navigate through image sets

Full fidelity now viewing available in XERO Xtend
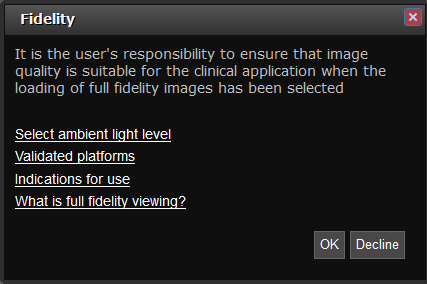
Studies can be viewed in full fidelity while using XERO Xtend with XERO Workflow. When full fidelity is enabled, the user receives a dialog providing supporting information about fidelity.
Figure: The full fidelity dialog informing users
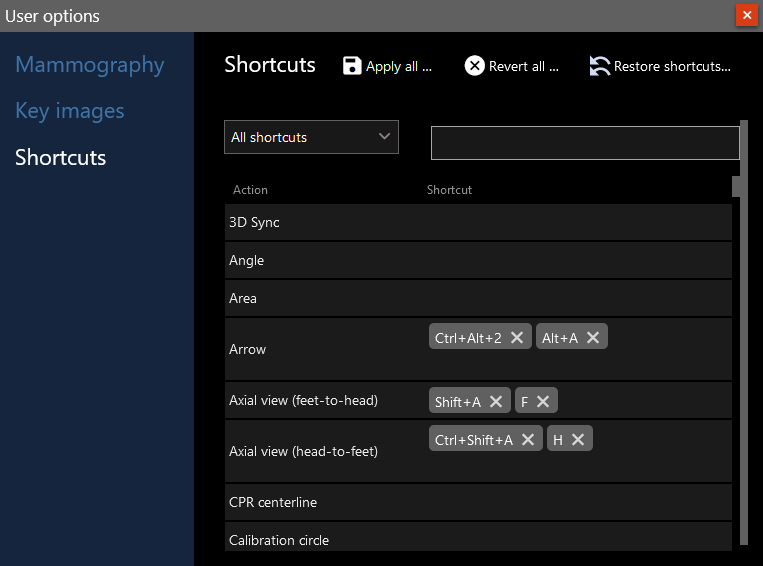
Manage your keyboard shortcuts in XERO Xtend
You can configure the keyboard shortcuts for the Image area in XERO Xtend. Changes are stored at the user level, so your keyboard shortcuts are also available in the Enterprise Imaging desktops. View the available actions for keyboard shortcuts in the user options.
Figure: The shortcut menu can be configured from User options
Enhanced zoom functionality in XERO Xtend
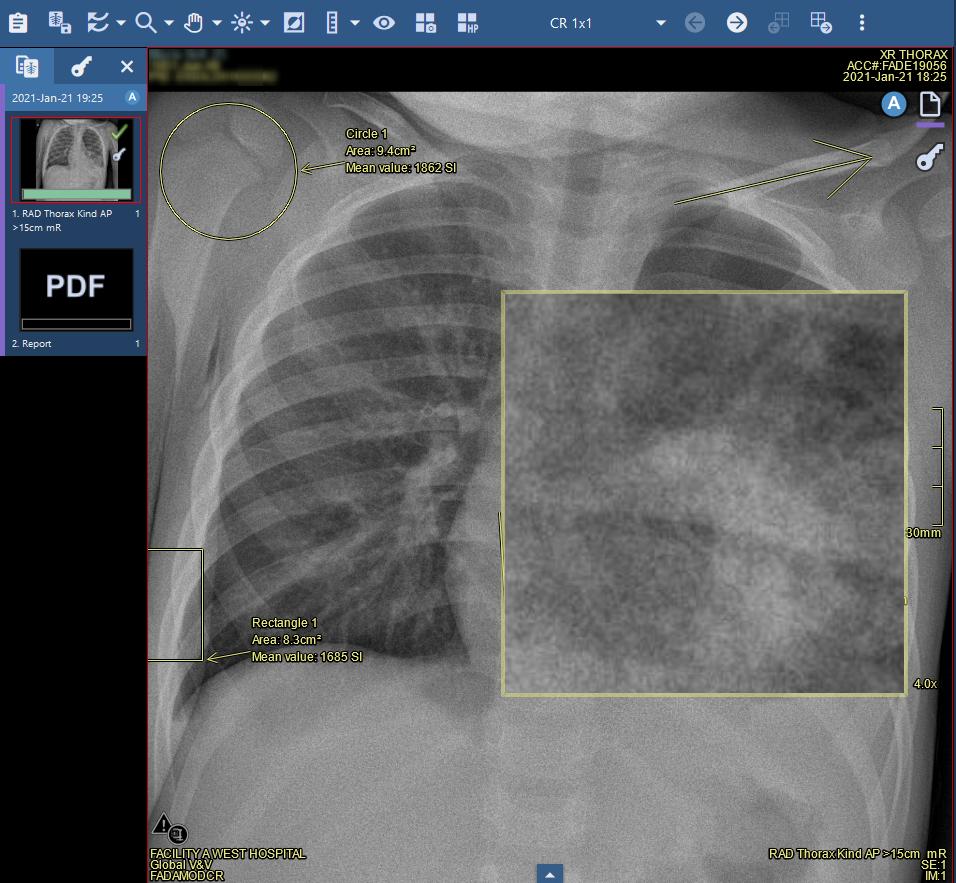
You can magnify specific regions of interest with the zoom lens tool and configure the magnification settings to meet your workflow preferences. Activate the zoom lens from the top toolbar or the context menu.
Figure: Select the zoom lens tool from the top toolbar
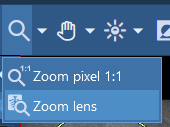
Figure: Use the zoom lens tool to magnify areas of interest
Snapshots can be created in XERO Xtend and viewed in the Snapshot gallery
You can create snapshots in XERO Xtend. An image snapshot stores the state of images in the Image area and allows you to return the Image area to the same state later. This includes the current state of the Image area layout, shown images, content of the Clinical sidebar, linking of the viewports, markups, calibration, and so forth.
The Create snapshot button is available in the Image area toolbar and in the snapshot gallery. If no active snapshot session exists, a new session is created.
Figure: Select the Create snapshot button in the Image area
![]()
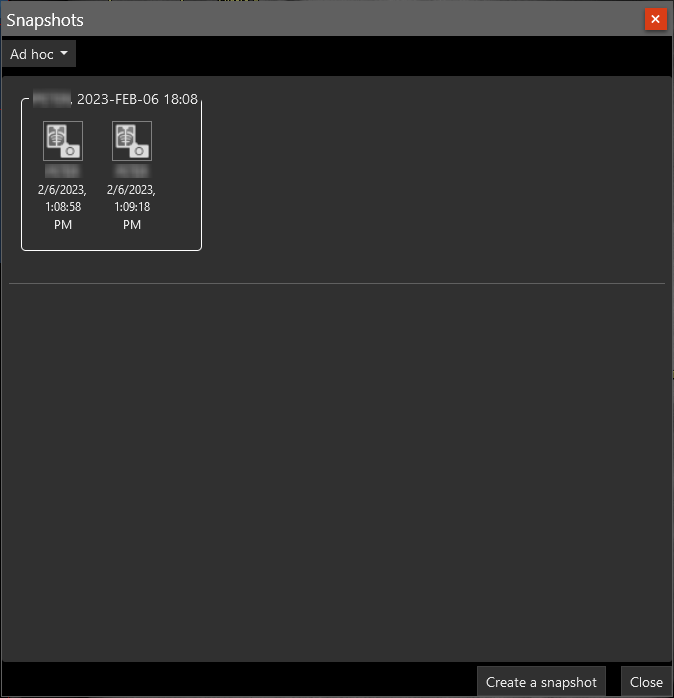
A snapshot gallery is available in XERO Xtend. The Snapshot gallery shows all available snapshots for the currently selected study.
Figure: Select the snapshot gallery button in the Image area
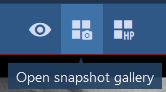
Figure: Select the snapshot gallery button in the Image area
Advanced cine functionality is available in XERO Xtend
- Display selected cine speed.
- Set cine speed.
- Set the view to Factor or FPS.
- Navigate to next or previous frame.
- Navigate to first or last frame.
- Set the playback mode: Rock, Loop, or Single.
Figure: Basic playback functionality lets control cine playback on any viewport
![]()
Figure: Open the advanced playback functionality to take advantage of the extended functionality

Figure: The warning symbol indicates if the playback speed differs from the specified speed
